I used to dread taking photos under harsh lighting because by the middle of the day my under eye concealer would settle into every tiny line and fold under my eyes making me look more tired than I actually was. It was honestly embarrassing looking back at photos from events and seeing creasing that I did not even notice until zooming in later.
I tried setting powders from a bunch of drugstore brands and even a couple of higher end ones that promised to fix this exact problem. Most of them either did nothing noticeable or left a weird grey cast under my eyes in photos with flash.
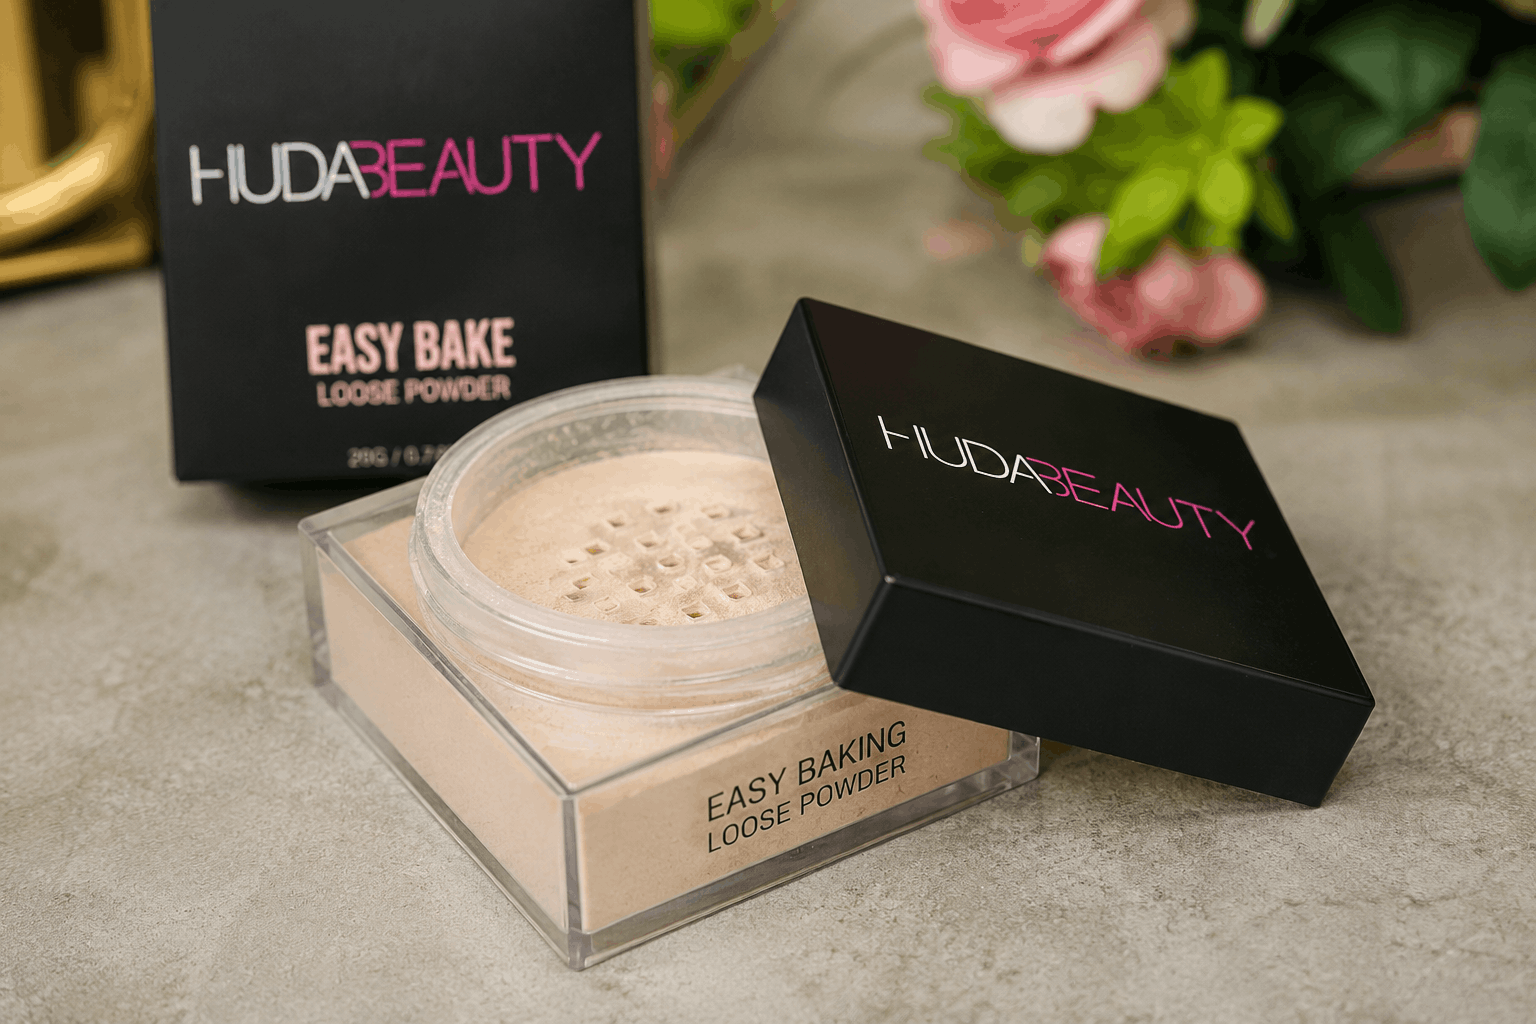
A makeup artist friend of mine who does bridal makeup on the side recommended I try baking my under eyes properly using Huda Beauty Easy Bake Loose Powder instead of just dusting a regular setting powder on top like I had been doing.
That conversation genuinely changed how I approach my base makeup.
What Baking Actually Means If You Are Confused Like I Was
Before trying this I honestly thought baking was just another fancy term influencers made up for setting powder application. Turns out it is a specific technique where you apply a generous amount of loose powder under your eyes and let it sit for several minutes while your body heat and the products underneath set into place.
After waiting you dust off the excess powder leaving behind a smoother more locked in finish that resists creasing much better than a quick light dusting would.
Huda Beauty designed this particular powder specifically with that baking technique in mind which is different from a lot of setting powders that are meant for a light quick all over dusting instead.
My First Attempt Was A Little Messy
The first time I tried baking with this powder I used way too much product because I did not fully understand how much was actually needed. I looked like I had a thick white mask under my eyes before blending anything out.
I also did not wait long enough before dusting it off which meant it had not fully set into my concealer yet. The result was decent but not as long lasting as I expected based on what I had seen online.
After doing a bit more research and watching a proper tutorial from a professional makeup artist on YouTube I adjusted my technique and the results improved dramatically.
How I Actually Bake My Under Eyes Now
Here is my current process that has worked consistently well for me including for long event days.
Step one apply your under eye concealer as you normally would making sure to blend it out fully before moving to the powder step.
Step two using a small fluffy brush or a makeup sponge like a Beauty Blender scoop up a generous amount of the loose powder and press it gently under your eyes creating a slightly thick layer.
Step three let it sit for at least five minutes without touching your face. I usually use this time to finish the rest of my makeup like my eyebrows or eyeshadow so the waiting does not feel wasted.
Step four once the time is up use a clean fluffy brush to dust away the excess powder in gentle downward sweeping motions.
Step five continue with the rest of your base makeup like foundation and bronzer on top since the baked area should now hold up much better throughout the day.
The Actual Results That Convinced Me To Keep Using It
The very first time I did this correctly I noticed my concealer looked smoother by the end of the day compared to before. No creasing settling into my fine lines even after several hours of talking laughing and general face movement.
During a long wedding event where I was on my feet for hours under bright venue lighting my under eyes held up impressively well in photos. That was honestly the moment I became a believer since photos with flash are usually where creasing becomes the most obvious.
I also noticed my makeup looked more photo ready overall since the baked area created a smoother base for any additional powder products applied afterward.
Mistakes I Made Along The Way
Using way too much powder during my first few attempts which made blending afterward more difficult and occasionally left a slightly cakey look if I did not dust it off thoroughly enough.
Not waiting long enough before removing the excess powder which meant it had not fully set leading to less impressive wear time.
Using a powder brush that was too small which made the application uneven and patchy in some areas.
Forgetting to check my under eyes in natural light after finishing since some artificial lighting in bathrooms can hide a slightly heavy application that becomes obvious outside.
Who This Actually Works Well For
People who deal with concealer creasing throughout the day especially under bright lighting or during long event days tend to benefit the most from this technique and product.
People who take a lot of photos for work or personal content since baking creates a smoother base that photographs really well under flash photography.
If you have very dry under eyes you might want to make sure your concealer and undereye area are well hydrated beforehand since powder can sometimes emphasize dryness if your skin prep is not solid first.
A Small Warning About Shade Matching
This powder comes in different shades and using the wrong one for your skin tone can leave a slight cast in photos especially with flash. I made the mistake of grabbing a shade that was too light for my skin tone the first time and noticed a faint grey tint under my eyes in a few event photos.
Testing the shade on your jawline or under your eye area in natural daylight before committing to a full face application is a smart habit to avoid this issue.
Where I Buy Mine And What To Watch For
I usually get mine through Sephora or directly through Huda Beauty’s official website since counterfeit makeup products unfortunately exist for popular viral brands like this one. Checking seller reviews and avoiding unusually discounted listings from unfamiliar third party sellers is always a smart move with makeup products you apply directly to your skin.
Frequently Asked Questions
Do I need a specific brush for baking with this powder? A small fluffy brush or a damp makeup sponge works well for applying the powder, and a separate clean fluffy brush works best for dusting off the excess afterward.
How long should I wait before removing the powder? Around five minutes is generally enough time for the powder to set properly, though some people prefer waiting slightly longer especially in warmer weather.
Can this powder work for all skin tones? Yes the range includes multiple shades designed for different skin tones, so picking the correct match for your complexion is important to avoid any unwanted cast in photos.
Will this powder look cakey if I use too much? Using more than necessary can create a slightly heavier finish, but dusting off the excess thoroughly afterward usually solves this issue and reveals a smoother result underneath.
Is baking necessary for everyday makeup or just special events? Baking works well for both, though a lot of people reserve the full technique for events or photos while using a lighter dusting for regular daily wear.
Can I use this powder without doing the full baking technique? Yes it works fine as a regular setting powder too, though the baking method specifically helps with longer wear and reducing creasing more than a quick light dusting would.
Final Thoughts
Learning how to properly bake my under eyes with this powder genuinely solved a problem that had been bothering me for years every time I looked back at photos from events. It is not some magic overnight fix and it definitely takes a little practice to get the technique right without overdoing the product.
If concealer creasing has been a consistent frustration in your own routine this is worth trying with a bit of patience. Just remember to match your shade properly and give the powder enough time to actually set before dusting it away.